Tables
Creating Tables in Word 365 (also applies to Powerpoint and Publisher)
Create a Table by using the “Insert Table” button on the Insert Tab of your Microsoft Office application and then choose the number of columns and rows by dragging your cursor through the table grid (see below). This method of choosing the number of rows and columns will allow it to be accessible to screen-reading software.
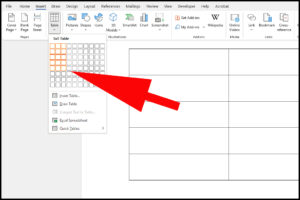
The alternative method of creating columns using the Tab key to create new rows when you reach the last row of a table will not be accessible to screen-reading software.
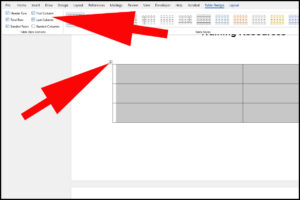
Most screen-reading software will read a table from left to right before moving onto the next row. You can help a screen reader see the full size and scope of your table by selecting the table (click on the little plus sign at the top left of your table) then click on the Table Design Tab and make sure
Points to note:
Do not:
- Nest tables inside other tables
- Merge cells or
- Split cells
as using these options can confuse some screen readers and please note that none of the following will make any difference to how Screen-reading software reads information in a table.
- Showing or hiding borders
- Using a different colour to identify the Header (first) Row
- Repeating the Header Row at the top of each page
Guide for different versions of Microsoft Word
Download the the following Word or PDF document to find out what you need to click for your particular version of Word.